Synology - Docker with GitLab, Redis, Postgresql and mail!
Credits and special thanks
mightbetrue @ Synology Forum
As said earlier in the post Synology - Configure Docker with Ghost Blog the Docker package offered on the Synology DSM is a great tool for learning and easily creating applications which would be hard to run otherwise. Now lets use this great tool for running Gitlab!
This post will explain how to download and install the Docker package on the Synology DSM and explain how to easily set up Docker Containers to run the application GitLab with its support Containers for Redis and Postgresql (database) - we will create the Container by using a Docker docker-compose.yml file.
Using a docker-compose.yml file has several values:
- You only need to edit one file instead of manually performing the initial setup of the application/environment every time
- this both prevents errors and is insanely time saving.
- It is very easy to update to newer versions of redis, postregre or gitlab if you dont want to "go blind" for the newest release at any time.
- It is also a lot easier to backup and revert to a previous docker-compose.yml version/file if you experience issues with a edited version or similar.
GitLab is a web-based Git repository manager with wiki and issue tracking features, using an open source license.
Redis is an open source (BSD licensed), in-memory data structure store, used as a database, cache and message broker.
PostgreSQL is an powerful open source relational database management system (DBMS) developed by a worldwide team of volunteers
It is recommended to run Docker on Synology's with an Intel chipset - this is because it is required to take full advantage of all Docker functionality. To find out if your Synology has an Intel chipset, check of the following url.
https://www.synology.com/en-uk/knowledgebase/DSM/tutorial/General/What_kind_of_CPU_does_my_NAS_have
(Check if it says Intel in the CPU Model column of your Synology version, also for best experience CPU, and Memory should be considered)
1. Installing Docker on the Synology DSM
To install Docker on Synology DSM open the Package Center -> Search for Docker -> Action -> Install

When installation completes you should see docker in the main menu
2. Configure Docker root data folder for applications
Now after installing Docker we should configure a root data folder for the applications data (shared-storage volume), to do this we need to connect to the DSM using SSH and elevate our session to root privileges (sudo su), this requires you have admin/root access with your account.
- If you dont know how to SSH and elevate to root check out this post
https://www.synology.com/en-us/knowledgebase/DSM/help/DSM/AdminCenter/system_terminal
- Also, I would recommend setting a custom SSH port as the default port for SSH, port 22 is a well known port used by hackers to get access to network clients.
So, log into the Synology DSM using terminal and elevate your session to root.
The reason for creating the root data application folder is to keep the Docker Containers applications data in its own folder structure, this to keep the overall DSM folder structures untouched and clean as well as making backup of Docker data simple. So go ahead and create the following folder and set the permissions to the root user.
mkdir -p /volume1/docker/
chown root:root /volume1/docker/
(With the current DSM Docker package version it is root that currently runs Docker in its context and hence the owner of the root application folder should also be the same).
Optional but recommended (this post will use this)
Now to separate "manual/custom" Docker applications (like the coming GitLab installation) from DSM Docker native applications installed via the Docker Registry it is suggested to create a personal subfolder within /docker, again this is just for cleaner structure and a choice you need to make yourself. If you follow the general advise create the following folder:
mkdir -p /volume1/docker/personal
The finale Docker root data folder structure should be like this.
├── volume1
│   └── docker
│       └── personal
3. Create Docker Container
There is two ways of creating a Docker containers on Synology DSM, this post for creating the GitLab Container will only explain step 2 (installing using docker-compose.yml) - the reason for this is all the environment settings which needs to be configured.
-
Install containers using Registry through the Docker application in Synology GUI. Configure the containers through the Synology GUI by adding volumes, ports and environment details manually on each container.
-
If you want this explained in detail check out the post Synology - Configure Docker with Ghost Blog
-
Install containers using docker-compose.yml files which holds the full configuration of the Docker container. Its very easy to use docker-compose.yml when the file is ready, but it can be difficult to create (docker-compose.yml files dosn't handle tabs, only spaces - this is one of the core reasons for syntax errors - personal experience ;))
4. Pre-requisites - Configure GitLab data folder
As we want to split personal Docker Container data from Synology DSM Docker standard containers we need to create a GitLab blog data folder before creating the actual Docker GitLab application.
To create the folder and set the right permissions run the following
mkdir -p /volume1/docker/personal/gitlab
chown 1000:1000 /volume1/docker/personal/gitlab
This should now be your new folder structure
├── volume1
│   └── docker
│       └── personal
│           └── gitlab
6. Create Docker GitLab Container from docker-compose.yml
Now we are ready to install and configure the GitLab Docker Container and this section will explain how to do this using a docker-compose.yml file. I'm not going to lie, this is my preferred way of configuring Docker containers as it makes upgrading, recreating etc. so much easier! So lets get started!
-
Open terminal and log into your Synology DSM with SSH and elevate your session to root by running sudo su (requires administrator privileges, see earlier chapter)
-
Now create the following folders and set the permissions on the folders
  mkdir -p /volume1/docker/personal/gitlab/postgresql
  mkdir -p /volume1/docker/personal/gitlab/redis
  mkdir -p /volume1/docker/personal/gitlab/gitlab/data
  mkdir -p /volume1/docker/personal/gitlab/gitlab/opt
  mkdir -p /volume1/docker/personal/gitlab/gitlab/config
  mkdir -p /volume1/docker/personal/gitlab/gitlab/logs

  #Set permissions on Docker GitLab folder structure
  chown -R 1000:1000 /volume1/docker/personal/gitlab
- This should now be your new folder structure
├── volume1
│   └── docker
│       └── personal
│           └── gitlab
│               └── postgresql
│               └── redis
│               └── gitlab
│                   └── data
│                   └── config
│                   └── logs
│                   └── opt
- Now we need to create the docker-compose.yml file, you can either do this on your computer and upload the file to the path /volume1/docker/personal/gitlab or you can create it with nano or vi editor (or some other editor if you want).
- nano /volume1/docker/personal/gitlab/docker-compose.yml
- vi /volume1/docker/personal/gitlab/docker-compose.yml
You will need to edit a number of the parameters, to see a description and even more parameters check out - https://github.com/sameersbn/docker-gitlab
Edit the parts marked with * and optionally the left ports of GitLab if you want to run GitLab on other local ports.
(It is very important that the file is structured as below and that it doesn't contain any tab's, just one tab will break the file)
version: '2'

services:
  redis:
    restart: always
    image: sameersbn/redis:latest
    container_name: gitlab-redis
    command:
    - --loglevel warning
    volumes:
    - /volume1/docker/personal/gitlab/redis:/var/lib/redis

  postgresql:
    restart: always
    image: sameersbn/postgresql:9.6-2
    container_name: gitlab-postgresql
    volumes:
    - /volume1/docker/personal/gitlab/postgresql:/var/lib/postgresql
    environment:
    - DB_USER=**Create Database user**
    - DB_PASS=**Create Database password**
    - DB_NAME=**Create Database name**
    - DB_EXTENSION=pg_trgm

  gitlab:
    image: sameersbn/gitlab:latest
    container_name: gitlab
    links:
    - redis
    - postgresql
    ports:
    - "8080:80"
    - "8022:22"
    - "8443:443"
    volumes:
    - /volume1/docker/personal/gitlab/gitlab/config:/etc/gitlab
    - /volume1/docker/personal/gitlab/gitlab/logs:/var/log/gitlab
    - /volume1/docker/personal/gitlab/gitlab/data:/home/git/data
    - /volume1/docker/personal/gitlab/gitlab/opt:/var/opt/gitlab
    environment:
    - DB_ADAPTER=postgresql
    - DB_HOST=postgresql
    - DB_PORT=5432
    - DB_USER=**Insert Database user**
    - DB_PASS=**Insert Database password**
    - DB_NAME=**Insert Database name**
    - REDIS_HOST=redis
    - REDIS_PORT=6379
    - TZ=**Insert your timezone ex. Europe/Oslo**
    - GITLAB_TIMEZONE=**Insert your timezone ex. Europe/Oslo**
    - GITLAB_HTTPS=true
    - GITLAB_SSH_PORT=8022
    - GITLAB_HOST=**Insert your domain ex. - sub.domain.name repo.gitlab.com**
    - GITLAB_ROOT_PASSWORD=**Create your GitLab root password**
    - GITLAB_ROOT_EMAIL=**Create your GitLab root email - this is roots username**
    - GITLAB_EMAIL_DISPLAY_NAME=**Insert a SMTP email sender, ex. noreply@domain.com**
    - GITLAB_EMAIL_SUBJECT_SUFFIX=**Create a email suffix to GitLab system mails*
    - GITLAB_EMAIL_ENABLED=true
    - GITLAB_EMAIL=**Insert a SMTP email sender, ex. noreply@domain.com**
    - GITLAB_EMAIL_REPLY_TO=**Insert a SMTP email sender, ex. noreply@domain.com**
    - GITLAB_INCOMING_EMAIL_ADDRESS=**Insert a system email receiver, ex. reply@domain.com**
    - SMTP_ENABLED=true
    - SMTP_USER=**Insert a SMTP email sender, ex. noreply@domain.com**
    - SMTP_PASS=**Insert SMTP email password**
    - SMTP_DOMAIN=**Insert SMTP domain**
    - SMTP_HOST=**Insert SMTP HOST for your domain**
    - SMTP_PORT=**Insert your HOSTs SMTP port**
    - SMTP_STARTTLS=true
    - SMTP_AUTHENTICATION=plain
    - IMAP_ENABLED=true
    - IMAP_HOST=**Insert a IMAP email sender, ex. noreply@domain.com**
    - IMAP_PORT=**Insert your HOSTs IMAP port**
    - IMAP_USER=**Insert a IMAP email sender, ex. noreply@domain.com**
    - IMAP_PASS=**Insert IMAP email password**
    - GITLAB_SECRETS_DB_KEY_BASE=**Create a long random string 50-70 characters)
    - GITLAB_SECRETS_SECRET_KEY_BASE=**Create a long random string 50-70 characters)
    - GITLAB_SECRETS_OTP_KEY_BASE=**Create a long random string 50-70 characters)
- Now is the fun part - open terminal, elevate with sudo su, navigate to /volume1/docker/personal/gitlab and run the command docker-compose up -d
If you now open the Synology DSM Docker application through the GUI you should see the Containers has appeared, and started.
- If they haven't appeared, or haven't started you can debug by adding - DEBUG=1 in the docker-compose.yml under GitLab -> Environments and then re-configure by running docker-compose up (without the -d, this will show you the output in terminal console. When you get it working you need to restart in detached from terminal session mode by running docker-compose up -d)
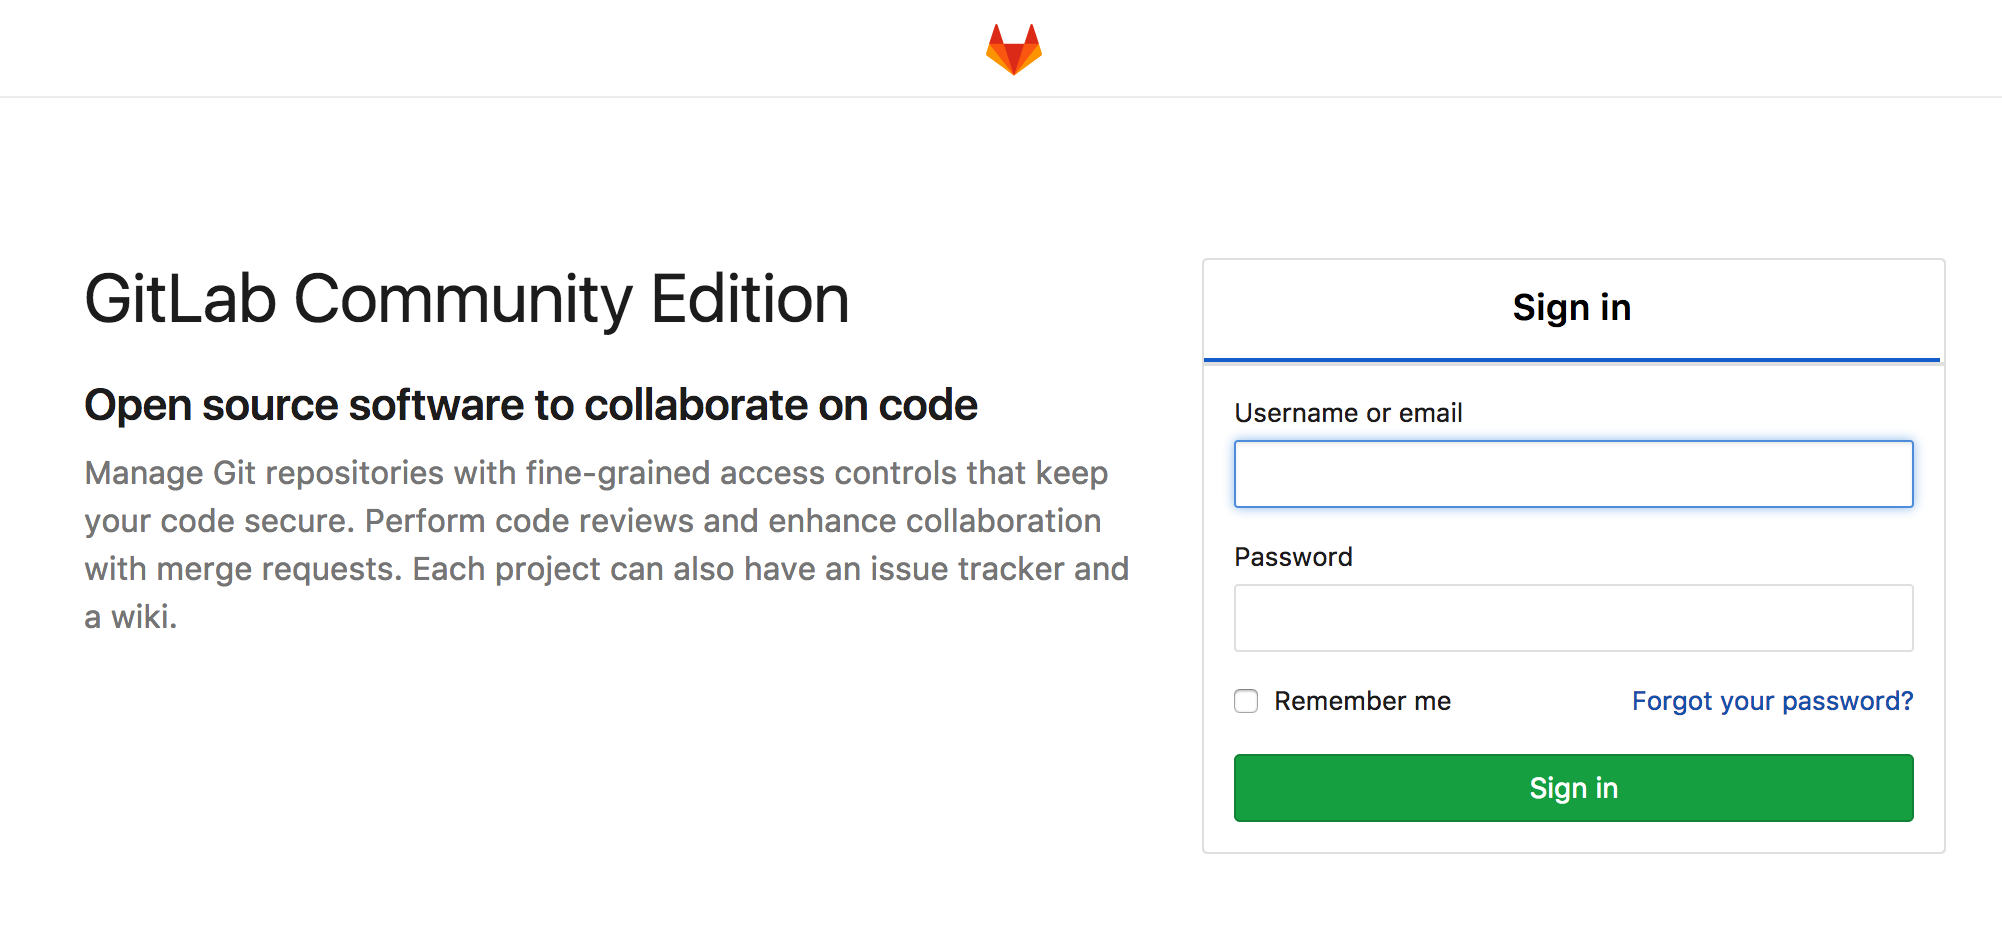
As soon as all the Containers has fully started (this can take up to 5 min or so) you can connect to your Synology DSM's IP with the port number (192.168.0.xxx:8080) to see the GitLab landing page.
Congratulations, you have successfully configured Docker Ghost Gitlab (with Redis and Postgresql) Container!
- If you want to change or add more environment variables just edit the docker-compose.yml file and run docker-compose up -d in
/volume1/docker/personal/gitlab
Expose Gitlab on HTTPS using Reverse Proxy
If you want to expose the GitLab Container on HTTPS to a sub-domain of your domain, or maybe even as your domain web site I have earlier made a post on this as well, check it out if you want ;)
Synology - Reverse Proxy with HTTP to HTTPS rewrite
/2017/07/14/synology-reverse-proxy/
Expose Gitlab directly on HTTPS without using reverse proxy
Although I would recommend using the Synology Reverse Proxy for exposing your Gitlab environment (as I feel its easier to maintain overview of my exposed applications) it is also possible to configure Gitlab to use HTTPS instead of HTTP directly.
What you need to do if you want to expose the docker Gitlab container directly on HTTPS is the following:
Prerequisits
- You need to have SSL certificates for your domain (full.qualified.domain.name), this can be made at letsencrypt.com
How to
1.Navigate to and edit your docker-compose.yml file and add the following to the gitlab environment configuration
  - GITLAB_HTTPS=true
  - GITLAB_HOST=your.full.qualified.domain.name
  - GITLAB_PORT=10443 (your chosen port for HTTPS)
2.Create a certs folder for our SSL certificate
 - mkdir -p /volume1/docker/olimb/gitlab/gitlab/data/certs
 - chown -R 1000:1000 /volume1/docker/olimb/gitlab/gitlab/data/certs
3.Strengten the security of the SSL certificate by generating a dhparam file. Open command/terminal and run the following
openssl dhparam -out dhparam.pem 2048
4.Add your SSL CSR, Private Key and Certificate to the folder, the fils needs to be named gitlab*, also add the dhparam.pem
- gitlab.key
- gitlab.csr
- gitlab.crt
- dhparam.pem
4.Restart your Gitlab Docker container
Congratulations, you are successfully running Gitlab on HTTPS!


